Color grading is a crucial aspect of the post-production process, allowing filmmakers to enhance the visual appeal of their projects. DaVinci Resolve is widely regarded as one of the best color grading software tools available, offering a comprehensive suite of features for refining footage. In this article, we will explore the fundamentals of color grading in DaVinci Resolve, from basic adjustments to advanced techniques.
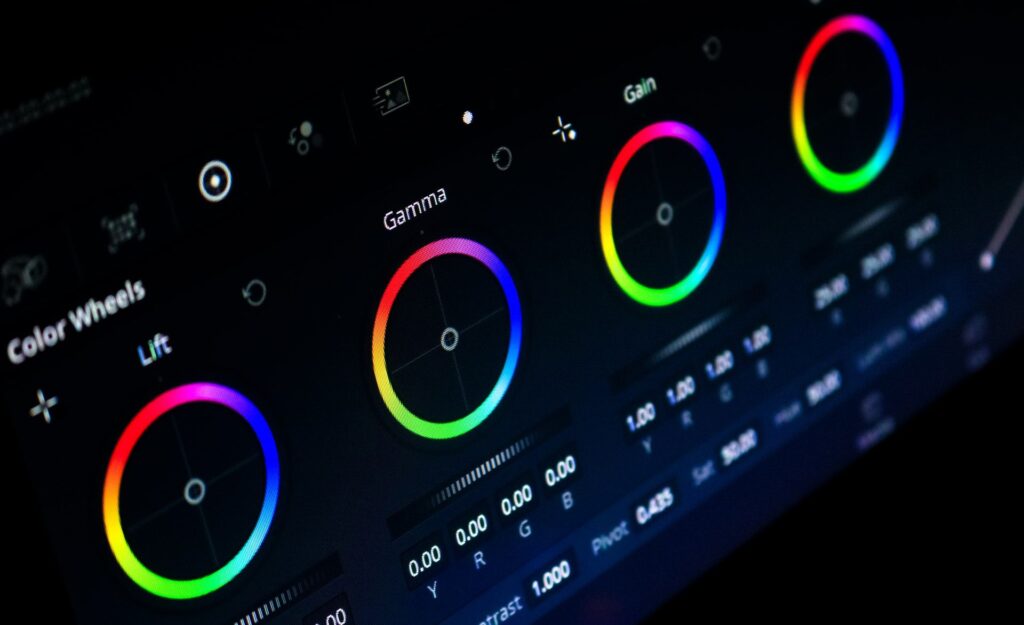
One of the key advantages of DaVinci Resolve is its powerful color grading tools, which allow for precise control over every aspect of the image. Whether you are working on a short film, a commercial, or a feature-length project, DaVinci Resolve provides the tools you need to achieve professional-quality results. We will delve into the various color grading panels and nodes, demonstrating how to use them effectively to enhance your footage.
In addition to basic color correction, we will also cover advanced techniques such as secondary color grading, tracking, and masking. These techniques allow for targeted adjustments, enabling you to refine specific areas of the image with precision. We will also explore the use of LUTs (Look-Up Tables) and how they can be applied to achieve consistent and visually stunning results.
Color grading is not just about making your footage look good; it’s about telling a story. By mastering the art of color grading in DaVinci Resolve, you can create compelling visual narratives that captivate your audience. Whether you are a beginner or an experienced colorist, this article will provide you with the knowledge and tools you need to take your color grading skills to the next level.